How to Stream Fantastic Contraption in Mixed Reality
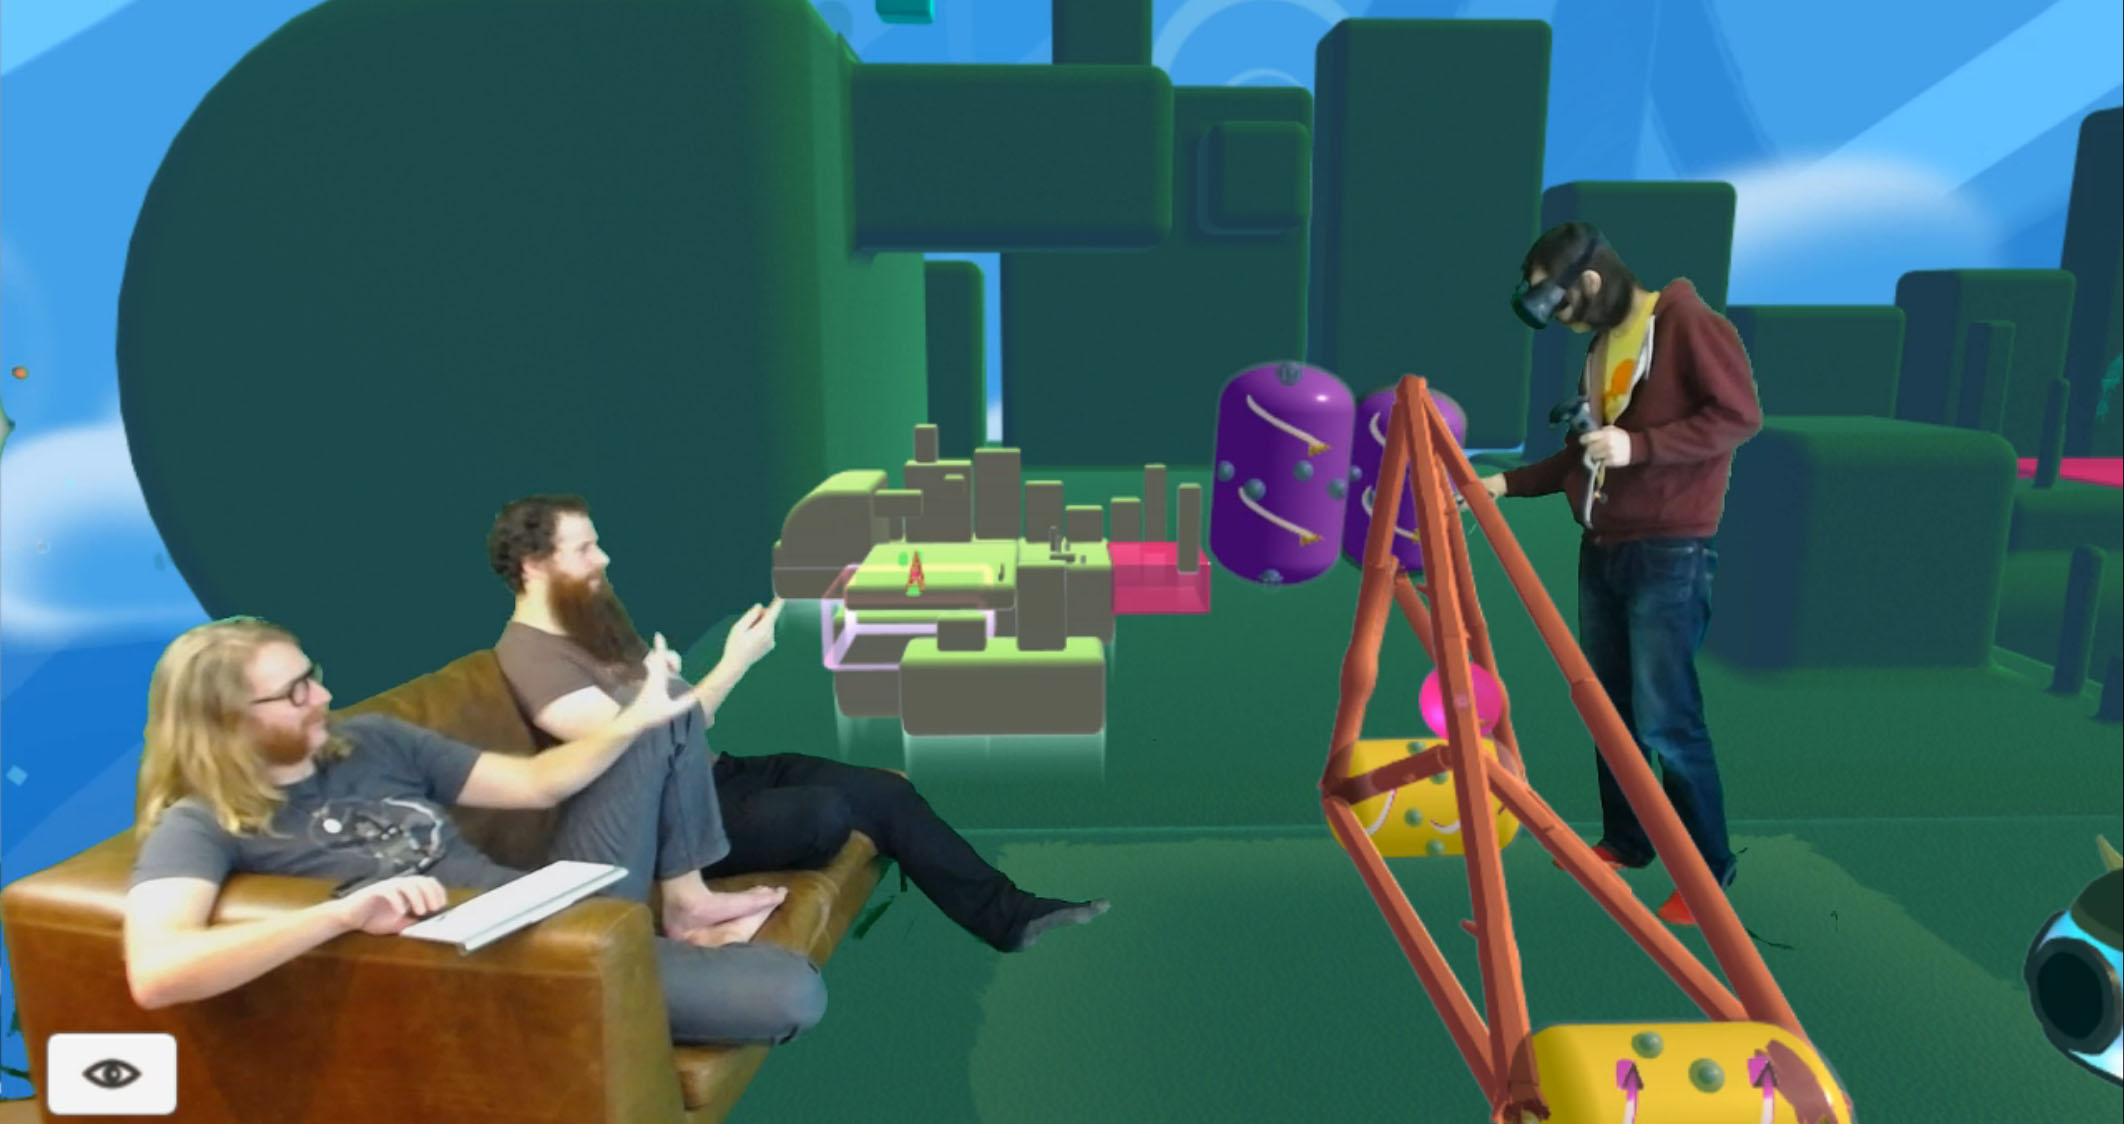
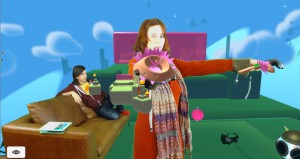
We stream every Thursday at noon on Twitch and are really enjoying it. This is a great way to show people what it feels like to be in VR and is a unique way to stream games. Our techniques and equipment can definitely be improved on to acheive better quality.
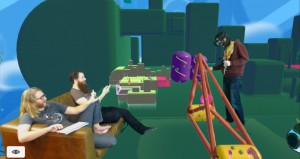
There are a number of ways to stream Fantastic Contraption, initially this guide will only cover full roomscale greenscreen streaming. You can probably devise other clever ways of streaming the game with what is covered in this guide.
I’ve also written a guide on how to record Fantastic Contraption with a hand-held camera.
There are a few broad sections to this guide:
1. Studio Setup
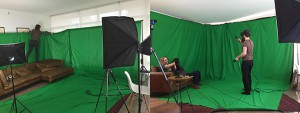
Lets start with the hard part. Our studio has a footprint of 15×12 feet and our greenscreen is 81/2 feet high. This is basically our entire living room. This is a nice big space and gives us room to include a couch in the shot for guests. I think 8×12 feet would probably still be comfortable with a tighter shot and no couch. If you have less space you can always get creative.
The green screen setup isn’t that hard. You just need a bunch of green screen fabric and a couple big racks to hold them. You’ll also need some lights, a camera and a mic. Sarah made up a handy shopping list of all the stuff we bought.
-> Sarah’s Shopping List <-
All told it cost is 1000$-1200$ CAD. It will cost you less in the US.
A quick note on webcams: a webcam that is great at a meter will be terrible at 4 meters. They are designed to take in a person sitting at a desk and are terrible at filming a whole room. We spent 300$CAD and bought the cheapest Sony handycam that does 1080p 60fps HDMI out and a 200$ capture card which much improved the quality. Of course you can always spend more on cameras. (we also tried a dslr but they are extremely finicky to get streaming well). The camera and card are listed in the shopping list.
So hang your green screen, set up your mic, and plug in your camera.
2. Game Setup
Note that there are two ways to do game setup. If you’re using an HDMI Camera or want to do the compositing in post go here. If you’re using a webcam read on.
- Start the game holding shift while opening the game in steam. This will open the resolution options. Set the game to open full screen at the resolution of your monitor.
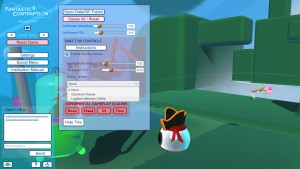
- Open the “Settings” menu (you might also have to hit the eye button to open the left-menu if it’s closed)
- Turn on “Enable director controls”
- Under the “Select Webcam” dropdown select the webcam you want to use. If it doesn’t appear or doesn’t work use these instructions
- Fiddle with the “Key Threshold” and “Key Step Range” sliders until your green screen looks good (also set the chroma key colour if your backdrop is a colour other than green)
3. Camera Sync
- The last thing you have to do is sync the in-game camera with the real world camera. This means moving the in-game camera to where the real-world camera is and setting the in-game camera Field of View to match the real-world camera. This is all done very manually.
- Put on the HMD and grab the in-game camerabug – that’s flying eyeball which indicates where the virtual camera is. Peek out from the HMD so you can see the real-life camera at the same time, and drag the camerabug over so that they are in the same place.
- Next use the keyboard wasd keys (as well as q & e for up & down) to fly the camera around and make small adjustments. Use the arrow keys to change the angle the camera looks. Shift arrow will “roll” the camera.
- This is easier with another person to help. Have them pick up the two controllers and walk to the back of the play area. Get them to hold out their arms in a T-pose and then not move. Using the arrow keys change the angle of the camera until the controllers are as close to matching the real-world controllers as possible. Note that the FOV may still be off so you won’t get a good match.
- To match the FOV, open the settings menu and drag the “3rd person FOV” slider until the in-game controllers are the same distance apart as your friends (very tired) arms.
- After setting the position and FOV set the “Camera Delay” slider. You will notice the camera lags behind the game as the player moves around. This slider will delay the game so it can match the delay of the camera. Drag this slider until the game and the player are in sync.
- You are done setup! Because of lighthouse drift and camera jostling you will probably have to re-tune this every time you stream.
4. The Director Functions
There are a number of camera controlls that can be used by the person in-game or by a spectator using a keyboard.
When you turn on Mixed Reality mode you will see these camera buttons somewhere in the game.
You can select between different cameras by pointing at a button and pulling the trigger. A person outside VR with a keyboard can switch between cameras by pressing ~1, ~2… ~6
When you’re in the game each camera is represented by a little flying insect. You can grab the insect to move it around. A person with a keyboard can fly around to get a better view of the levels and the contraptions using wasdqe and arrow keys.
The cameras are each a little different:
- ~1 is the POV of the player
- ~2 is a 3rd person camera
- ~3 is the mixed-reality camera
- ~4 is another 3rd person camera
- ~5 is a camera that always looks at the player
- ~6 is a camera that always looks at the goal ball
We have some keyboard shortcuts that are fun to use while streaming:
~C will hide the hand controllers. If you are affraid you’re going to start flying the mixed reality camera around by accident you can select it and then hit ~L to lock it in place.
You can change the avatar of the player (visible in 3rd person camera) with ~A. It will cycle between all available avatars (my favorite is the pink unicorn!)
You can give the player a hat with ~F!


Comments
30 responses to “How To Mixed Reality”
Just fair warning- I love what you guys are doing so much if I ever meet you I’m going to kiss both of you right on the lips.
Thank you so much for writing up this thorough rundown on your streaming setup and method for Fantastic Contraption! Y’all are doing some amazing work, and it’s so rad that you’re willing to give so freely to the community! :-D
Your VR camera compositions are amazing and really forward thinking. Do you foresee releasing a tutorial or project file on how to create a moving camera matched to a virtual camera?
Thanks for the write up guys. Could you talk a little more about what a game ‘Depth Camera’ is?
My vive will be here in 2 days, Im putting together my mixed reality order based on your how-to list. Are there any updates / changes that you think would work better for those of us who will be ordering the green screen cloth, a camera (will go with your suggestion of the amazon hdmi camera) and capture card?
Thanks for the write up, it sure makes this a ton easier and much more fun to do.
How would this set up change if I wanted to do a mixed reality capture with tilt brush?
i am late to this, just want to do it for the hell of it. I think HTC managed to shoehorn another controller into the game to reference and update the camera position in their versions…any ideas how?
I was hoping to use a couple of GoPros for the cameras as I already have them…are they suitable?
what is the FOV you used for that Camera? Does anyone know?
Yea, the FOV would be great to know! We are having a hard time setting it
The pastebin link to the shopping list is not working :(
Wow thanks so much for this guide, you guys rule!
Im just going to mention here (for my own selfish reasons) that unreal engine has some catching up to do with unity in this regard (hope you are reading this Epic!) cheers!
Do I need an extra controller for this setup ?
(Or could I use one of the two I already have just to try this)
Hi
Chuck, I’ve got the sony handycam camera that Sarah recomended and I’ve found somewhere between 40 and 41 is best for FOV, Ive got a fairly decent match.
it took me 30 mins to get this working, using your fantastic tools, that means it will take me about a million years to do this for other games by manually editing the cameraSettings text file and rebooting the game, seriously!. Colin/Sarah is there any way to export the camera translation and rotation that Ive achieved in fantastic contraption? either as a text file or a way to show the values in your menu?
thanks heaps!
Tom
EDIT: there is a open Data/GIF folder button in fantastic contraption and all the values set are there!
you guys rule, if you are ever in the UK give me a shout we owe you beer!
Folks remember if copying camera transforms to other games via the cameraSettings.txt file, you’ll need to make translation units x10 smaller. I.e X=1.59 In fantastic contraption Is 0.159 for other games
Do all games have a directors menu? Or only ones that use unity? Do they have a config file I can mess with directly if there isn’t a GUI for it?