There are a couple of reasons you might not want to use the in-game webcam system (which is easier to set up). For technical reasons the in-game system only supports webcams so if you are using a camera with a capture card you can’t use it. This is unfortunate because webcams look terrible when the subject is more than a meter or two away from the camera. You might also be compositing the layers together after-the-fact in which case you will need to use this method to get the foreground/background split into two.
1. Game Setup
Game setup is pretty easy:
- Start the game holding shift while opening the game in steam. This will open the resolution options. Set the game to open full screen at the resolution of your monitor.
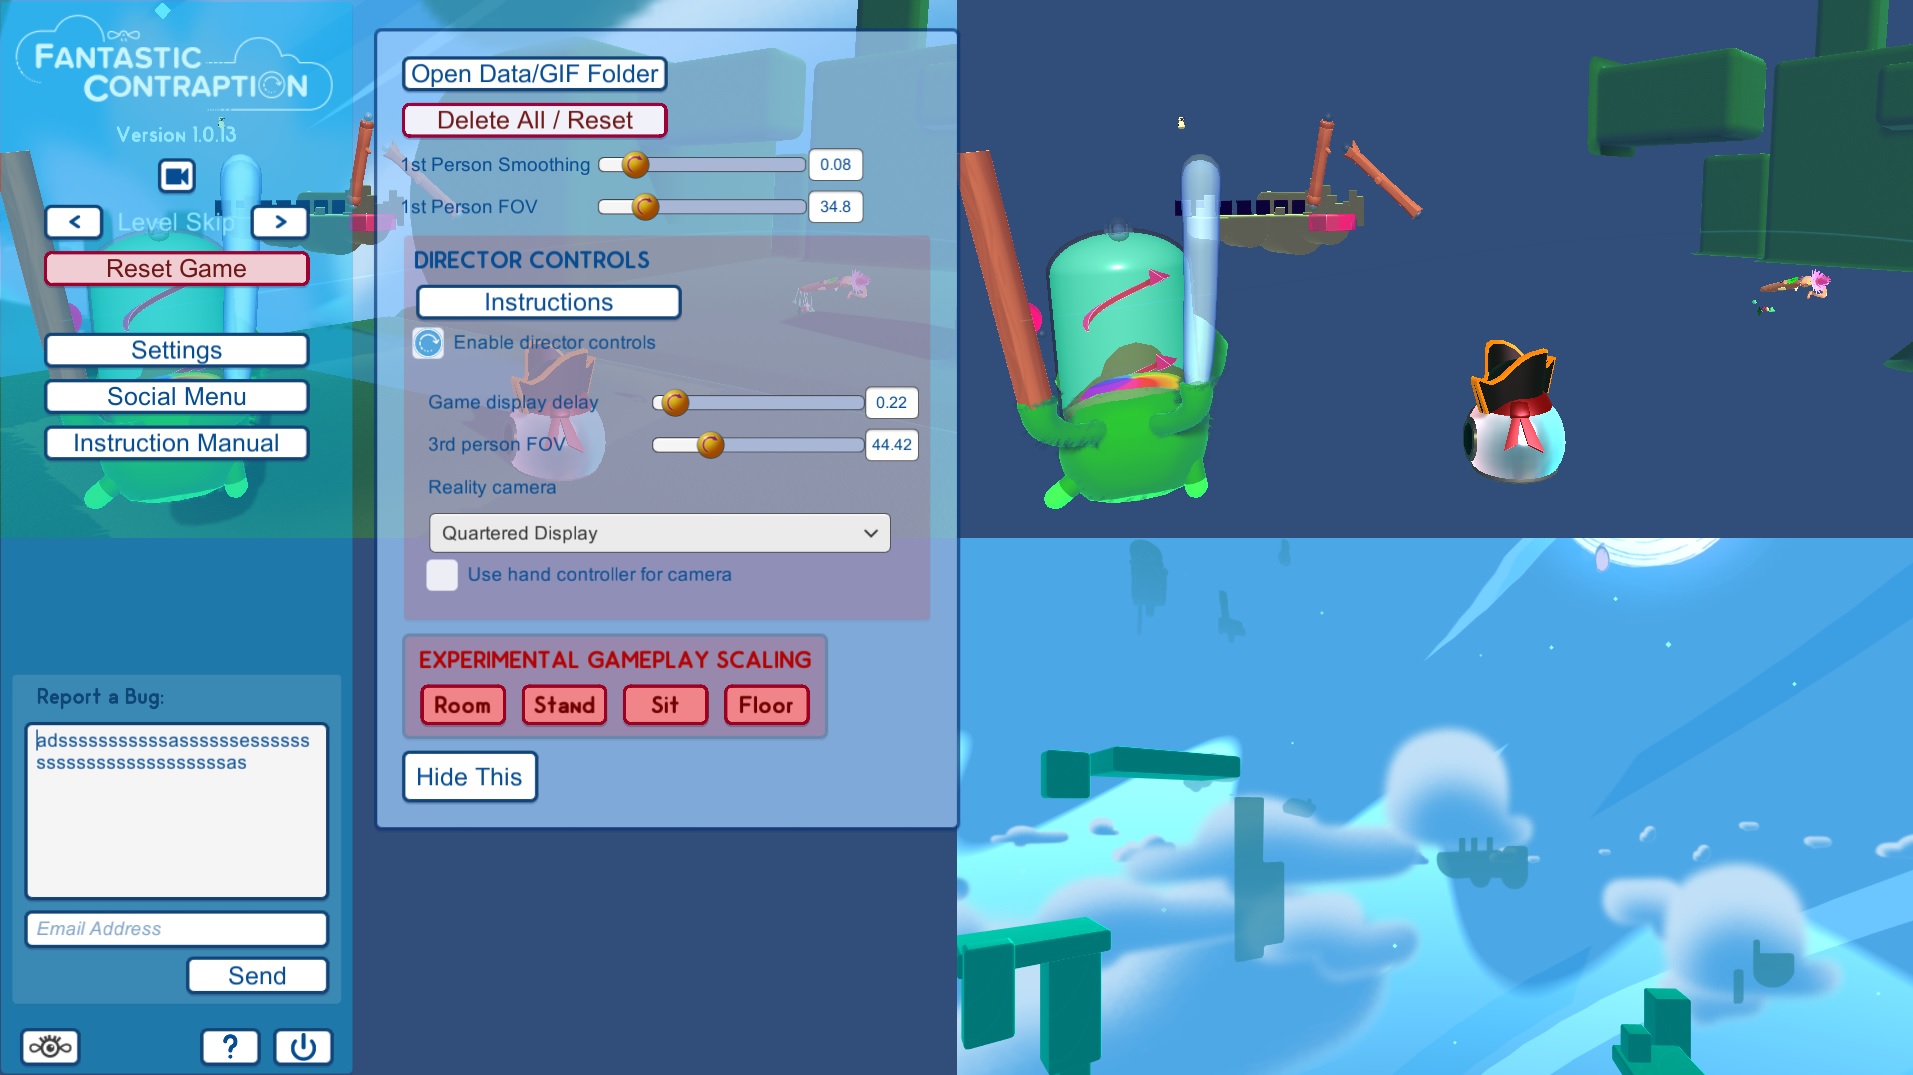
- Open the “Settings” menu (you might have to hit the eye button to open the left-menu if it’s closed
- Turn on “Enable director controlls”
- Pick “Quatered Views” in the Camera dropdown

- Close the settings menu
2. OBS setup
OBS (Open Broadcasting Software) is popular streaming software and is pleasently flexible. Weirdly OBS makes it kind of hard to export settings files so I’m going to walk you through setting it up for Fantastic Contraption. It’s good to know how this works anyway so you can make any changes you might decide you want to make. First download OBS if you don’t have it already (download the Studio version). Then open OBS.
Note that since the game is broken into four quadrants your output resolution will be half of whatever your screen resolution is. I’m going to do this totorial with a 4k monitor which will let me stream at 1080 but you don’t need a 4k screen to stream the game. Just adjust the numbers to whatever resolution your monitor runs at.
First let’s add the game background:
- Hit the “+” under “Sources” and select “Window Capture”. Name the layer “Background”
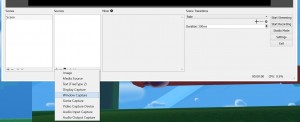
- Select “Fantastic Contraption” in the “Window” dropdown
- Flip off “Capture Cursor”
- Hit “ok”
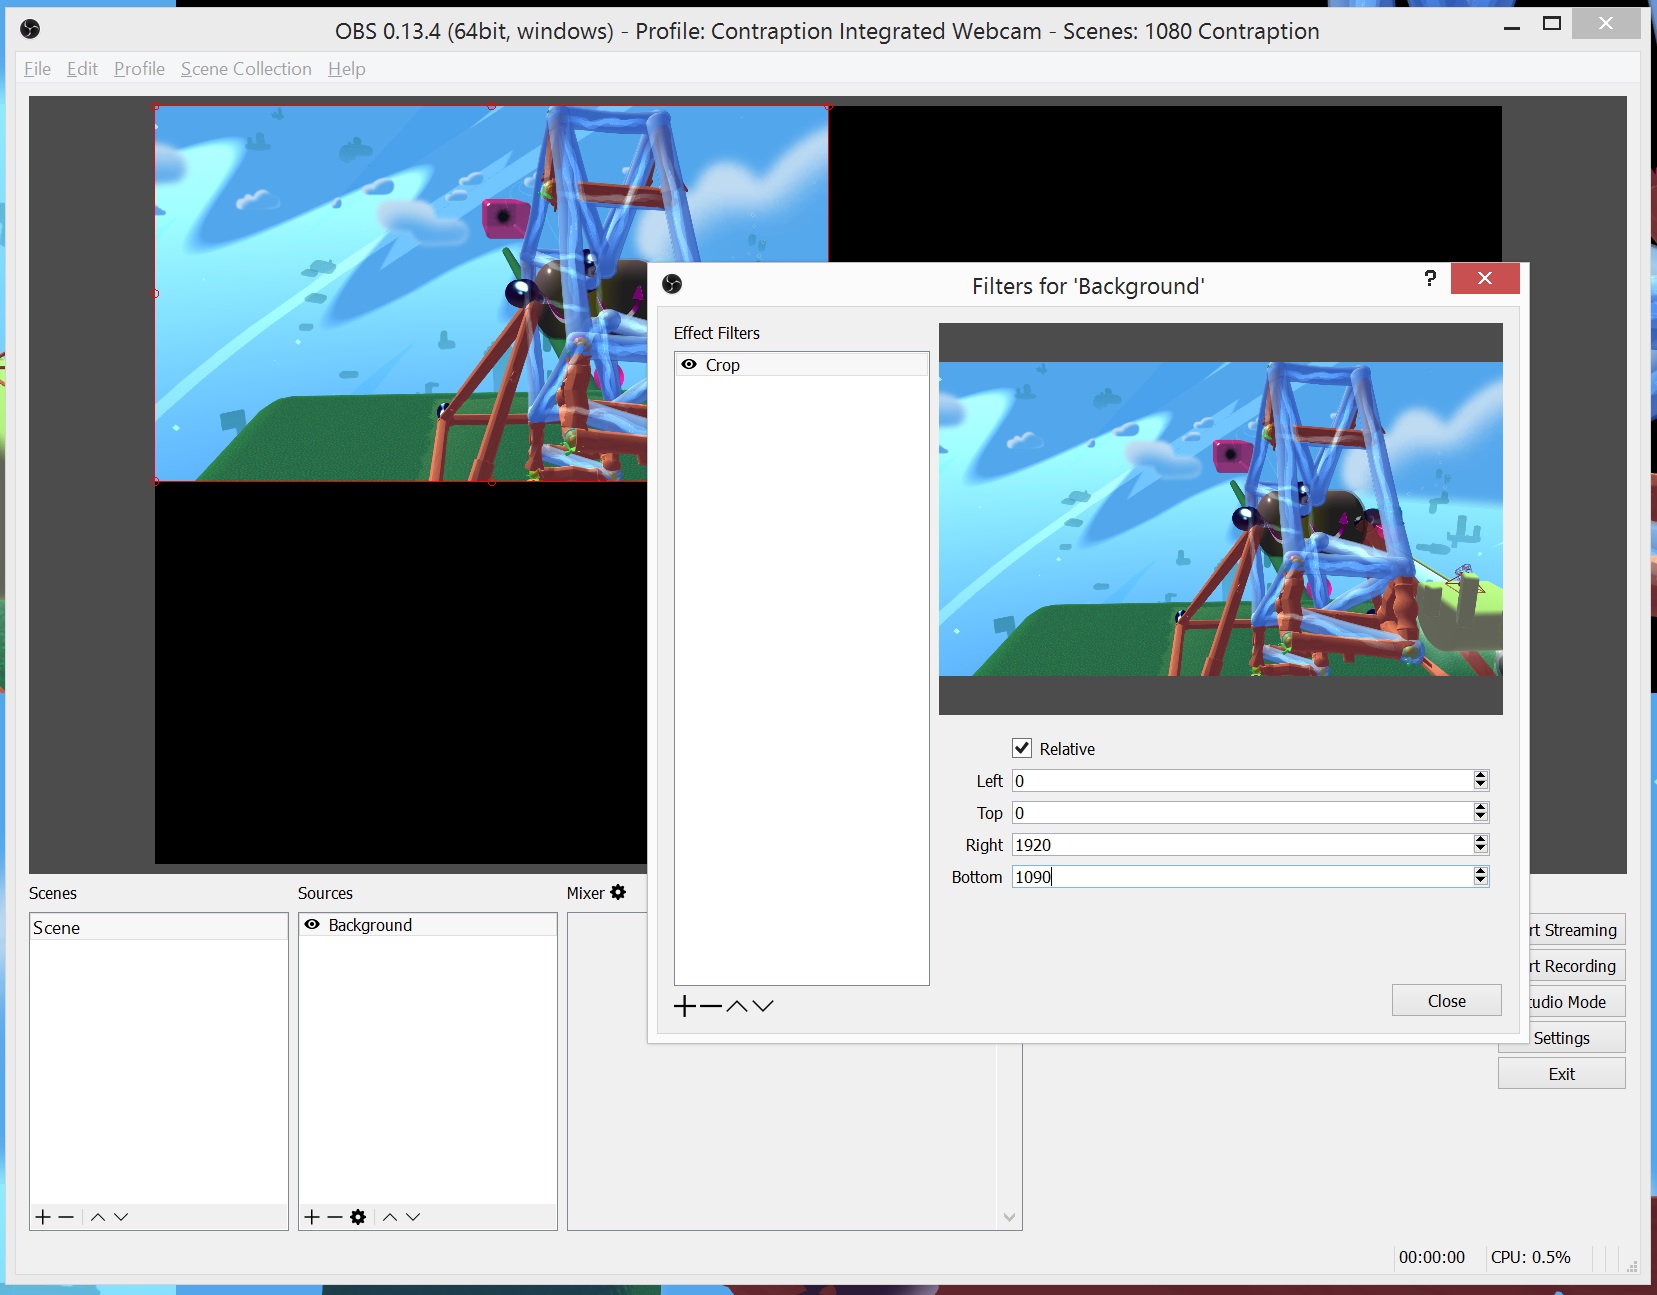
- Right click on “Background” and select “Filters”
- Hit the “+” on the Filters window and select “Crop”
- Set the “Right” to “1920” (or half of whatever your monitor width is)
- Set the “Bottom” to “1080” (or half of whatever your monitor height is)
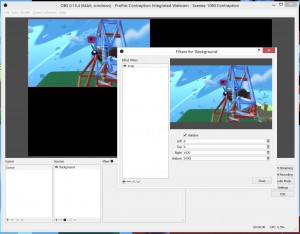
- Hit close
- Grab the little red circle at the bottom right and resize the layer to fill the whole canvas area

Now let’s add the webcam
- Hit the little “+” under “Sources” again and select “Video Capture Device”. Name the layer “RL Camera”
- Under “Device” select your camera
- Hit “ok”
- Resize the camera layer to fill the whole canvas area
- Right click on “RL Camera” and select “Filters”
- Hit the “+” under “Effect Filters” and select “Color Key”. Name it “Green Screen”
- Fiddle with “Similarity” and “Smoothness” until you get the desired effect
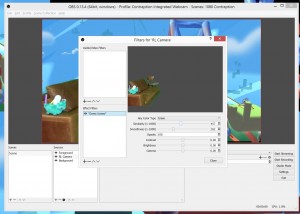
- Hit close

Lastly, let’s add the game foreground:
- Hit the “+” under “Sources” and select “Game Capture” name the layer “Foreground”
- Unslect “Capture Any Foreground Application”
- Select “Fantastic Contraption” in the “Window” dropdown.
- Check “Allow Transparency”
- Flip off “Capture Cursor”
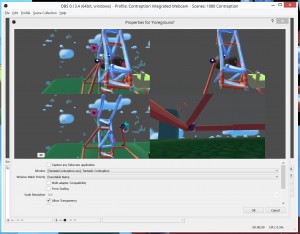
- Hit “ok”
- Right click on “Foreground” and select “Filters”
- Hit the “+” on the Filters window and select “Crop”
- Set the “Left” to “1920” (or half of whatever your monitor width is)
- Set the “Bottom” to “1080” (or half of whatever your monitor height is)
- Hit close
- Grab the little red circle at the bottom right and resize the layer to fill the whole canvas area

OBS setup Done!
3. Camera Sync
- The last thing you have to do is sync the in-game camera with the real world camera. This means moving the in-game camera to where the real-world camera is and setting the in-game camera Field of View to match the real-world camera. This is all done very manually.
- Make sure the game and OBS are both open and the game has the Depth Cameras turned on
- Now open the OBS file menu and select “Always On Top”
- Give the game focus and use the wasd keys (as well as q & e for up & down) to fly the camera around. Use the arrow keys to change the angle the camera looks.
- This will be much easier with another person to help you. To get a rough idea of where the camera should be have the other person go into VR. They will see an insect with a big eye and wings, that’s your camera. Have them direct you, move the in-game camera to where the real-world camera is.
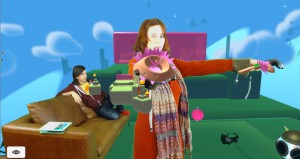
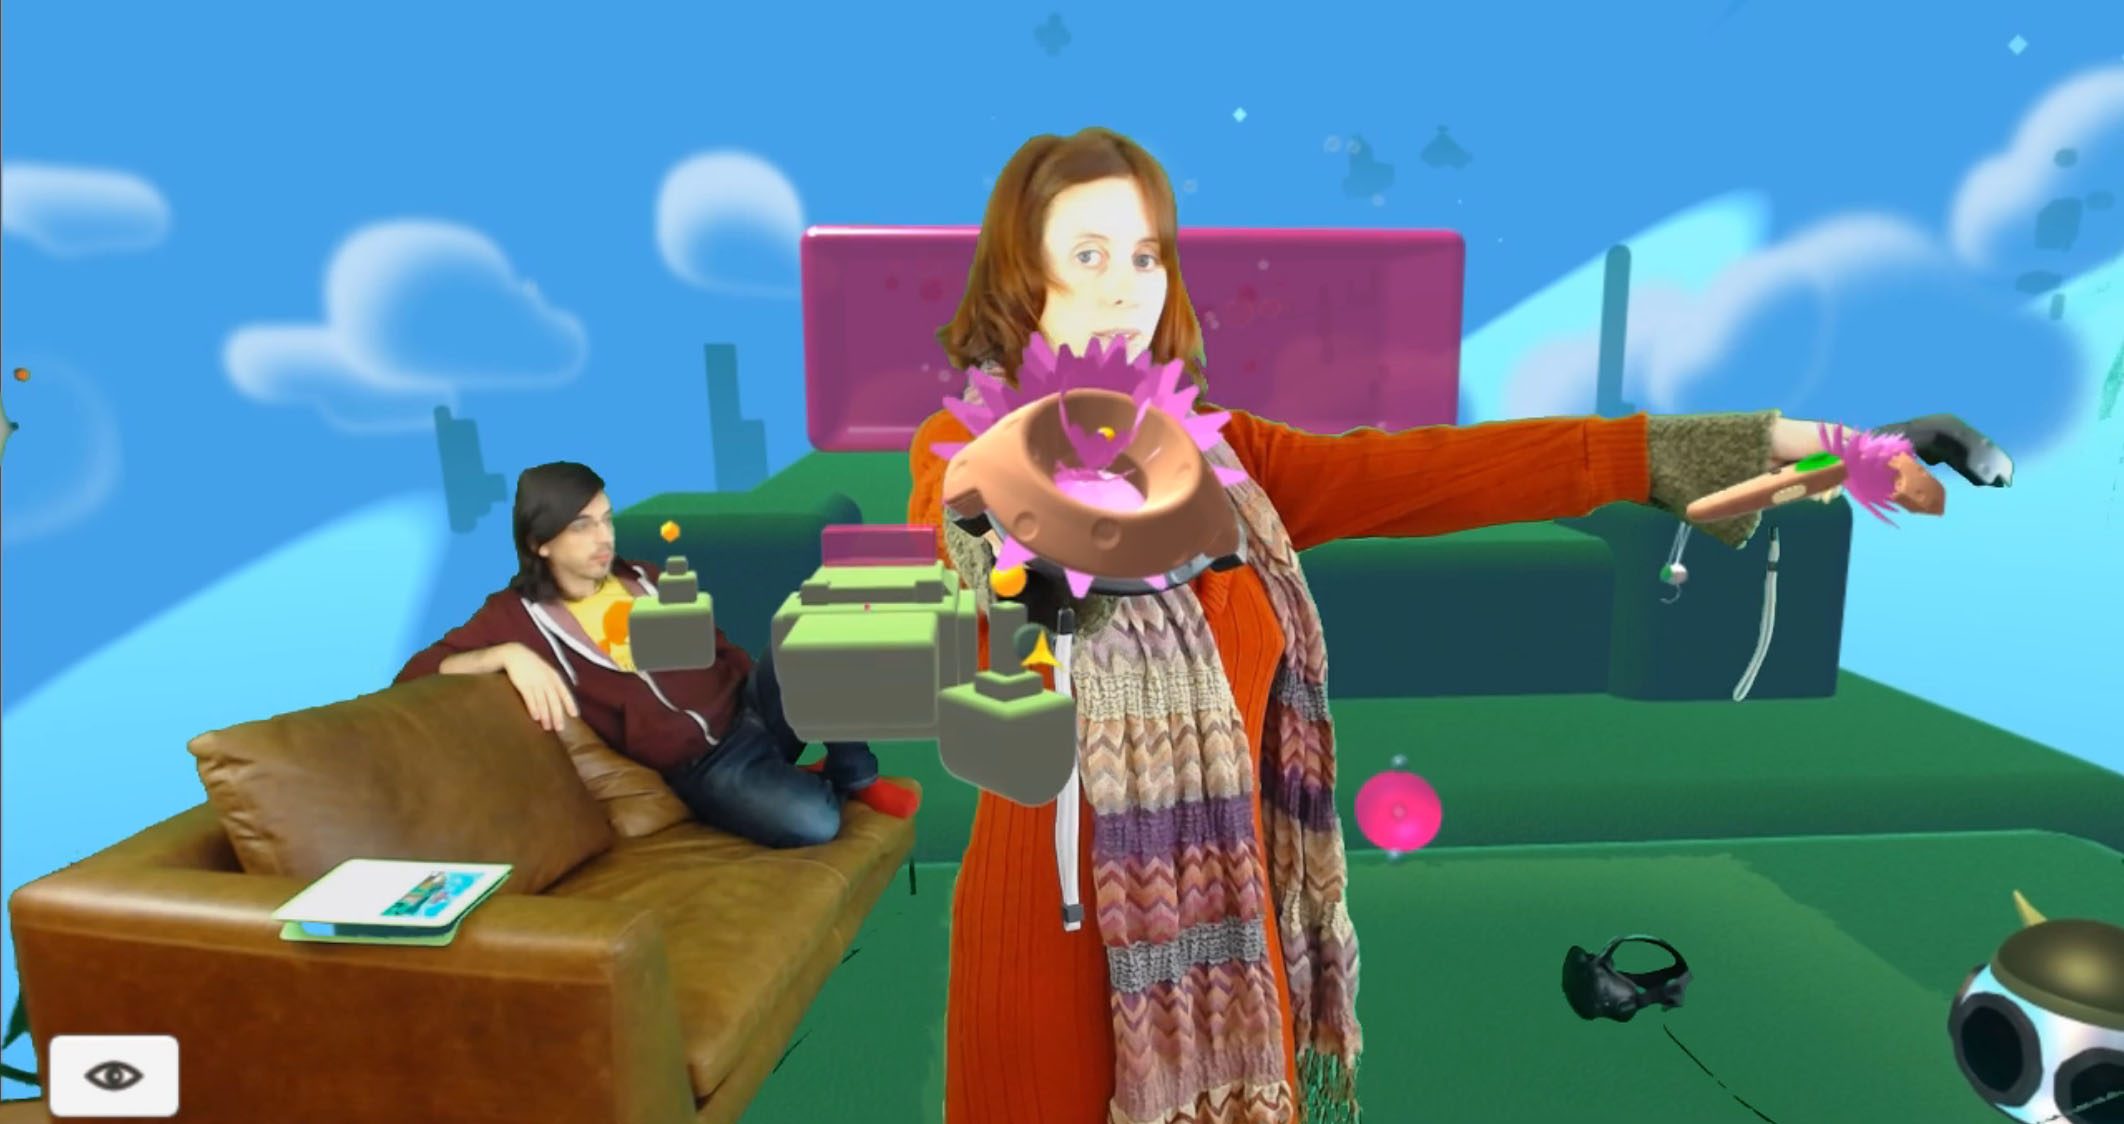
Using hand controller positions to align the cameras - Then have them pick up the two controllers and walk to the back of the play area. Get them to hold out their arms in a T-pose and then not move. Using the arrow keys change the angle of the camera until the controllers are as close to matching the real-world controllers as possible. Note that the FOV is still off so you won’t get a good match.
- To match the FOV make the OBS window small enough that you can use the game’s settings menu again. Open the settings menu
- Drag the “3rd person FOV” slider until the in-game controllers are the same distance apart as your friends (very tired) arms.
- After setting the position and FOV set the “Camera Delay” slider. You will notice the camera lags behind the game as the player moves around. This slider will delay the game so it can match the delay of the camera. Drag this slider until the game and the player are in sync.
- You are done setup! Because of lighthouse drift and camera jostling you will probably have to re-tune this every time you stream.
Now go back to the previous instructions to learn the Director Controls.
Comments
3 responses to “Mixed Reality With Quartered Screens”
Tried this guide, tried experimenting when this guide didn’t work. Not sure whats up, but I don’t have success using it :/
Seems where you guys can walk on the grass of the game, I have that as foreground that obscures things…
Under step “3. Camera Sync” you say “Make sure the game and OBS are both open and the game has the Depth Cameras turned on” but I can’t find a ‘depth camera’ toggle/switch/setting. Where can I find that?